
You have no items in your shopping cart.


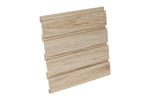
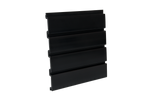
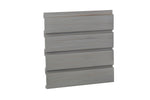
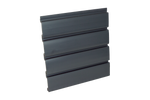
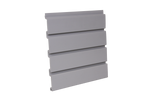
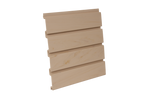
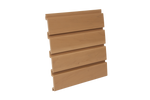
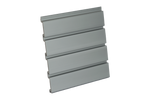
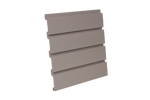
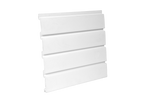

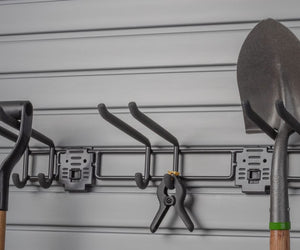
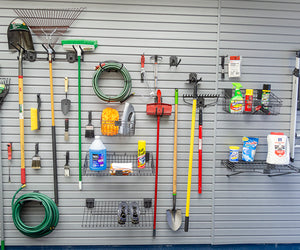
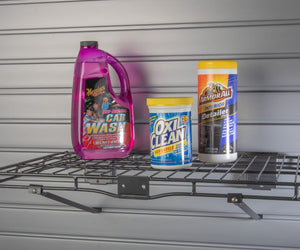
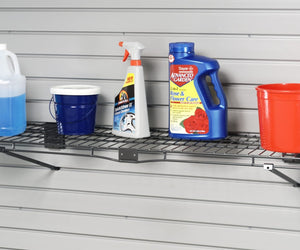
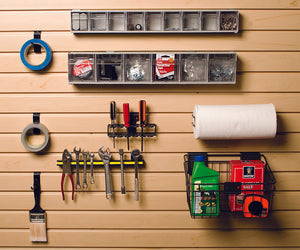
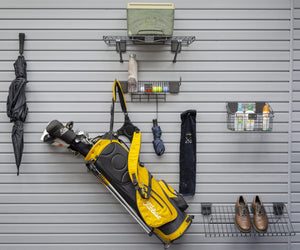
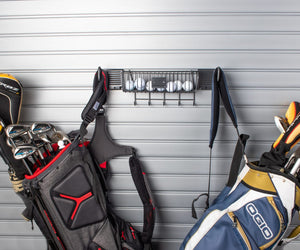
Browse completed garage and workspace installations featuring HandiWALL slatwall and accessories.
Select an image to view it larger.
Ready to build your HandiWALL system?
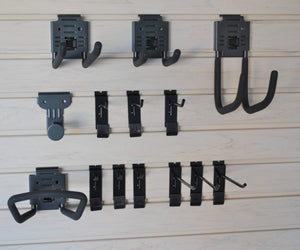
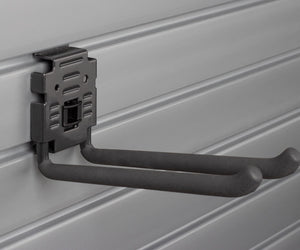
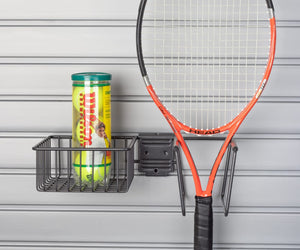
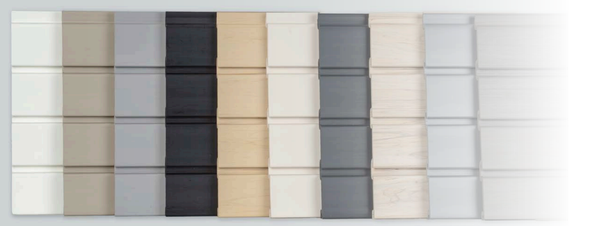
View Panel Colors & Sizes →Add compatible hooks, shelves, and storage accessories to get more from your HandiWALL installation.

EXCLUSIVE OFFER - FREE BOX OF 100 COLOR-MATCHED INSTALLATION SCREWS WITH EVERY CASE OF HANDIWALL.
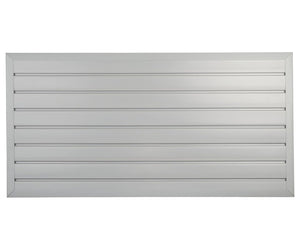
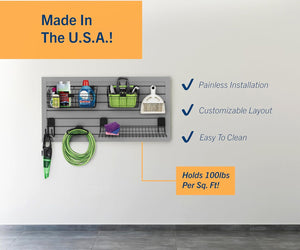
HandiWALL slatwall panels from HandiSolutions are the product of 60+ years of research and development in plastic manufacturing. Made in the USA from a cellular PVC slatwall base which can be directly installed in full 8ft, 4ft, or 80in panels, HandiWALL is ideal for garage storage and organization, as well as smaller spaces such as the laundry room, office, kids room, pantry, home gym, or basement. HandiWALL is a versatile slatwall solution allowing a flexible layout that easily adapts to changing storage needs over time. Looking for a smaller footprint? See our Framed HandiWALL Kits or the HandiWALL Handi Tool Rail Kits.

For your convenience, we include a free box of 100 color-matched installation screws (1-5/8") with every case of HandiWALL. Additional screws are available here.
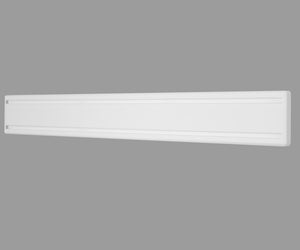
See our trim and molding options for a finished, polished look. Frame your wall, eliminate seams, and make 90 degree angle connections more cosmetically appealing.
Options include:
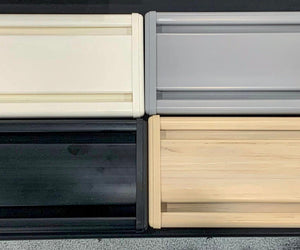
We offer free 4" x 5 1/4" samples in each color finish. Please see our HandiWALL Slatwall Sample page or contact us directly to receive your samples. Shipping costs will apply unless shipped with another order.
HandiWALL slatwall panels are fire tested by an independent laboratory (ASTM E84 Test), and ranks HandiWALL in Grade A (index of 15) for flame spread.

Every HandiWALL panel undergoes rigorous quality control check before, during, and after manufacturing to ensure standards are met for color, length, form, fit, and function. Panels are also tested for consistency in strength, groove connections, and accessory assembly. HandiWALL stands out in its ability to be lightweight yet impressively durable.
HandiWALL slatwall panels are compatible with HandiWALL, StoreWALL, MKE Slatwall, Diamond Life, GarageTek, New Age, and other standard universal 3” on center slatwall accessories.
Accessories from Crownwall, Flowwall, Gladiator Gearwall, Proslat, and Rubbermaid are not compatible (these are all proprietary systems, and only their hooks fit their slatwall).
Need something slightly smaller? See our Framed HandiWALL Kits.
Need something much smaller? See our HandiWALL Handi Tool Rail Kits.
Measure Wall + Plan Layout
To ensure a smooth and professional installation of your HandiWALL slatwall system, it’s important to measure where you intend to install the slatwall panels on the wall. This will help you determine the number of HandiWALL panels needed and their optimal placement.
Locate Strongest Spots on Wall
Once you have your measurements, use a stud finder to locate the strongest areas on the wall. These are the ideal spots to screw your HandiWALL panels into, ensuring a secure and stable installation. Mark these spots with a pencil or tape to serve as your reference points during the installation process.
Begin Screwing HandiWALL
Begin the installation process by attaching the first HandiWALL panel to the wall. Starting from the bottom and working your way up will help maintain a level and uniform appearance. Use the marked stud locations to guide you as you screw the panel into place, ensuring it is securely fastened to the wall.
Continue To Stack + Screw
Next, stack, align, and screw the following HandiWALL panel on top of the first one for a seamless look. Continue this process, stacking and screwing each HandiWALL panel in place until all panels are securely attached to the wall.
See our full detailed HandiWALL Installation Guide for additional tips and guidance.
We typically stock most inventory, while also providing direct shipments from manufacturers or distributors as needed. We strive to keep real-time inventory levels transparent on our website at all times.
Most orders ship out the same or next business day. We offer free ground shipping on orders over $100, with the exception of all trim and 8ft slatwall panels. Please see below for detailed shipping rates.
HandiWALL slatwall panels are designed to create durable, customizable storage for garages, workshops, utility rooms, and commercial spaces. Proper installation ensures maximum strength and long-term performance. Follow the steps below to install HandiWALL panels securely and efficiently.
Measure the width and height of the wall area you plan to cover. Determine the panel lengths that minimize seams and cuts. HandiWALL panels are available in multiple lengths, allowing you to optimize your layout for garages of any size.
For best results, sketch your wall layout in advance and determine the locations of all panel joints, trim pieces, and accessories before installation begins.
Use a stud finder to locate every wall stud and mark each stud location from floor to ceiling. Fastening directly into studs provides the strongest installation and maximizes the weight capacity of your HandiWALL system.
If installing over drywall, ensure that all mounting screws penetrate the studs behind the drywall.
Install J-trim along the perimeter of the installation area to create a finished appearance and provide a channel for the panel edges. J-trim is typically installed along the top, bottom, and sides of the slatwall installation.
Measure carefully and cut trim pieces to length before fastening them to the wall.
Begin installation at the bottom corner of the wall. Use a level to ensure the first panel is perfectly straight, as all subsequent panels will align to it.
Fasten the panel securely into each stud using the recommended screws. Take extra care during this step, as any misalignment in the first row can affect the entire installation.
Stack each additional panel above the previous row, ensuring the tongue-and-groove connection seats completely before fastening. Continue fastening each panel into the studs until the wall is complete.
When multiple panel lengths are used, stagger seams where possible to improve appearance and minimize visible joints.
When two panels meet end-to-end, install division trim to create a clean transition between sections. Division trim helps conceal seams and provides a professional finished appearance.
HandiWALL panels can be cut using a circular saw, table saw, or miter saw equipped with a fine-tooth blade. Always measure twice before cutting and wear appropriate safety equipment.
For the cleanest results, support the panel fully during cutting and remove any burrs or debris before installation.
The strength of your HandiWALL installation depends on proper fastening and even load distribution. Heavy items should always be mounted across multiple slots and secured directly into wall studs.
Avoid concentrating excessive weight in a single location. Distributing weight evenly across the wall will maximize the performance of your storage system.
Yes. HandiWALL can be installed over drywall as long as the mounting screws are fastened directly into wall studs.
Yes. Panels can be cut to fit your wall dimensions using standard woodworking tools with fine-tooth blades.
Absolutely. HandiWALL is specifically designed for garages, workshops, utility rooms, and other storage applications.
J-trim and division trim are recommended to create a clean, professional appearance and conceal exposed panel edges and seams. All trim is optional and a purely aesthetic choice. Trim serves no functional purpose.
For additional installation tips, step-by-step photos, and troubleshooting advice, read our complete guide:
Find answers to the most common questions about HandiWALL slatwall panels, installation, accessories, weight capacity, and garage organization.
HandiWALL is a durable PVC slatwall panel system designed for garages, workshops, utility rooms, and commercial spaces. The panels mount directly to wall studs and accept a wide variety of hooks, baskets, shelves, and storage accessories.
Yes. HandiWALL can be installed over drywall as long as the mounting screws penetrate the wall studs behind the drywall.
Yes. HandiWALL can be installed on concrete, block, or masonry walls using the appropriate anchors and fasteners. Furring strips may also be used to create a flat mounting surface.
Yes. HandiWALL panels can be cut using standard woodworking tools, including circular saws, table saws, and miter saws equipped with fine-tooth blades.
The weight capacity of a HandiWALL installation depends on proper fastening, wall construction, and load distribution. Heavy items should always be mounted across multiple slots and secured directly into wall studs. HandiWALL maximum weight load is recommended at 100 lbs/sq.ft.
Absolutely. HandiWALL is specifically designed for garages, workshops, sheds, utility rooms, laundry rooms, home gyms, and other storage applications.
HandiWALL panels are available in multiple lengths, including 48-inch, 80-inch, and 96-inch options, allowing you to minimize seams and optimize your wall layout.
J-trim is recommended around the perimeter of the installation, while division trim is used where panels meet end-to-end. Both create a cleaner, more professional appearance, however all trim is optional as it is a purely aesthetic choice and serves no functional purpose.
Yes. Many installations combine 48-inch, 80-inch, and 96-inch panels to reduce waste and minimize visible seams.
Yes. HandiWALL hooks, baskets, shelves, and storage accessories are all designed to work across the HandiWALL panel lineup.
Yes. HandiWALL panels are compatible with other standard 3" on-center slatwall accessories. Common compatible brands include StoreWALL, MKE Slatwall, NewAge, Diamond Life, GarageTek, and more.
HandiWALL is NOT compatible with brands such as Crownwall, Flowwall, Gladiator Gearwall, Proslat, and Rubbermaid, as these are all proprietary systems designed for only their hooks to fit their slatwall.
Yes. With the proper accessories and installation, HandiWALL can organize bicycles, ladders, lawn equipment, power tools, sports equipment, and many other garage essentials.
Use the coverage calculator on this page to enter your wall dimensions and compare panel sizes. The calculator will estimate the number of cases required for your project.
Visit our complete installation guide for detailed instructions, photos, and installation tips.